


TECHNICAL SUPPORT


Published 2026-01-19
Smallservo, Big Headache? Meet Simple Microservice Example Python.
You know the feeling. You’ve got a brilliant project idea—a nimble robotic arm, a smart automated camera rig, maybe a custom piece of interactive art. The vision is clear. Then you start wiring up theservos, and the code… well, it becomes a tangle. Suddenly, you’re managing multipleservomovements, handling sensor inputs, and ensuring everything talks smoothly. It’s less about building your idea and more about wrestling with complexity. Sounds familiar? That’s the exact frustration we hear about.
So, what if there was a way to make each part of your project—each servo, each sensor—act like a self-contained, smart little unit? That’s the promise behind a microservice approach. Think of it not as a mega-controller shouting orders to every component, but as a team of specialists. Each specialist (or microservice) handles one job perfectly, and they chat with each other to make the whole system work. This means if one part needs an update or fails, the rest keep humming along. No more single point of failure bringing your entire setup to a halt.
But let’s be real. “Microservices” can sound like heavy-duty tech reserved for big data centers. Translating that into the physical world of motors and gears? That’s the gapkpowerrecognized. The challenge wasn't just about software architecture; it was about making it tangible for makers, innovators, and anyone building with physical components. How do you take a powerful concept and make it feel as simple as plugging in a servo?
From Concept to Movement: Making It Real
Imagine you have a pan-and-tilt camera platform. Traditionally, you might write one monolithic script controlling both servos, the light sensor, and the communication module. Change one thing, and you risk breaking another. Now picture this instead: a tiny, independent Python script dedicated solely to managing the “tilt” servo. Another one just for the “pan.” A third one listens to the light sensor. They’re all separate but know how to pass messages. Need to adjust the tilt’s speed? You tweak only its script. The rest don’t even notice. This modularity isn't just about neat code; it’s about sanity. It mirrors how we think about mechanical assemblies—discrete parts working in concert.
kpower’s approach focuses on this simplicity. They asked: What does a developer actually need to get started? The answer was a clear, tangible example that cuts through the theory. It’s like being given a well-labeled map of a new city instead of just a compass. You get a practical blueprint showing how to structure these independent services, how they communicate (often through lightweight messaging), and crucially, how this translates to real-world servo commands. The goal is to turn the “how do I even start?” panic into a “oh, I can try this right now” moment.
Why This Shift Makes Your Life Easier
Let’s talk about testing. With a single, sprawling codebase, testing a new movement sequence can be a nightmare. You have to run the whole show every time. With a microservice style, you can test the gripper servo’s logic completely independently, even before the arm base is built. It’s like sound-checking each instrument separately before the band rehearsal. This saves hours, maybe days.
Then there’s scaling. Maybe your project starts with two servos, but your vision includes ten. Adding the eighth servo under a traditional model often means unraveling and re-weaving large sections of code. With a microservice pattern, adding the eighth servo means writing one more small, focused script and teaching it how to listen to the same “conversations” as the others. The existing system doesn’t need a major overhaul. It’s more welcoming to growth.
Reliability gets a quiet boost. If your sensor-reading service temporarily glitches, the servo-control services can default to a safe “hold position” mode based on their last good instruction. The system degrades gracefully instead of crashing spectacularly. In mechanical terms, it’s like having a clutch that disengages safely rather than snapping a drive belt.
Is This For You? Probably.
You don’t need to be a systems architect to benefit. If your project involves more than one moving part and any degree of future change, this pattern offers a cleaner path. The initial setup might require a slight shift in thinking—organizing by function rather than writing a linear story—but the payoff is a project that’s easier to debug, extend, and understand six months later when you’ve forgotten its intricate details.
kpower’s material provides that crucial on-ramp. It demystifies by doing. You see a real, working example where messages are sent, servos respond, and logic is distributed. It shows the wiring diagram for the code, so to speak. This focus on an actionable example, on getting your hands dirty with something that works immediately, builds confidence. You move from abstract concern to practical solution quickly.
So, while the servos whir and your project takes shape, the underlying code can have a calm, organized resilience to match. It’s about building with patience and structure, so your creativity has a solid, scalable foundation to run on. That’s the quiet advantage of starting with a clear, simple example—it lets you focus on what you want to build, not just on how to hold it all together.
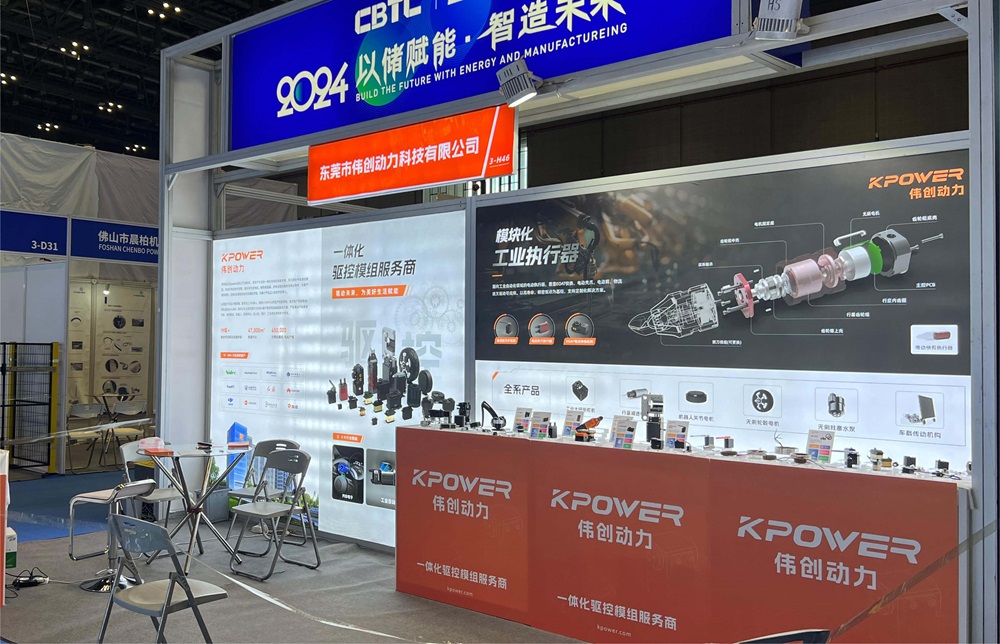
Established in 2005, Kpower has been dedicated to a professional compact motion unit manufacturer, headquartered in Dongguan, Guangdong Province, China. Leveraging innovations in modular drive technology, Kpower integrates high-performance motors, precision reducers, and multi-protocol control systems to provide efficient and customized smart drive system solutions. Kpower has delivered professional drive system solutions to over 500 enterprise clients globally with products covering various fields such as Smart Home Systems, Automatic Electronics, Robotics, Precision Agriculture, Drones, and Industrial Automation.
Update Time:2026-01-19
Contact Kpower's product specialist to recommend suitable motor or gearbox for your product.


