


TECHNICAL SUPPORT

Published 2025-09-06
The Blueprint of Precision – Understanding Servo Motor Diagrams
If you’ve ever watched a robotic arm paint a car with micrometer accuracy or seen a drone stabilize itself mid-air during a gusty wind, you’ve witnessed the magic of servo motors. These unassuming devices are the unsung heroes of precision motion, and their secrets lie in their design. Let’s dissect a servo motor diagram to understand why it’s the Swiss Army knife of motion control.
The Servo Motor: More Than Just a Motor At first glance, a servo motor diagram looks like a chaotic jumble of wires, circuits, and mechanical parts. But hidden in that complexity is an elegant dance of feedback loops and real-time adjustments. Unlike standard motors that simply spin when powered, servo motors are closed-loop systems. This means they constantly communicate with themselves to correct errors, like a pianist listening to their own music to stay in tune.
A typical diagram reveals three core components:
The Control Circuit: The brain of the operation, often represented by a microcontroller or PWM (Pulse Width Modulation) signal generator. The Motor: Usually a DC motor or brushless motor, responsible for generating motion. The Feedback Device: A potentiometer or encoder that acts as the system’s "eyes," reporting the motor’s position back to the control circuit.
Breaking Down the Blocks Let’s zoom into each part of the diagram:
1. The Control Circuit – Where Logic Meets Motion Imagine a symphony conductor. The control circuit plays this role, interpreting commands (like "rotate 90 degrees") and translating them into electrical signals. In diagrams, you’ll often see this as a chip labeled "PID Controller" (Proportional-Integral-Derivative). This isn’t just tech jargon—it’s the algorithm that ensures the motor doesn’t overshoot its target or react too sluggishly.
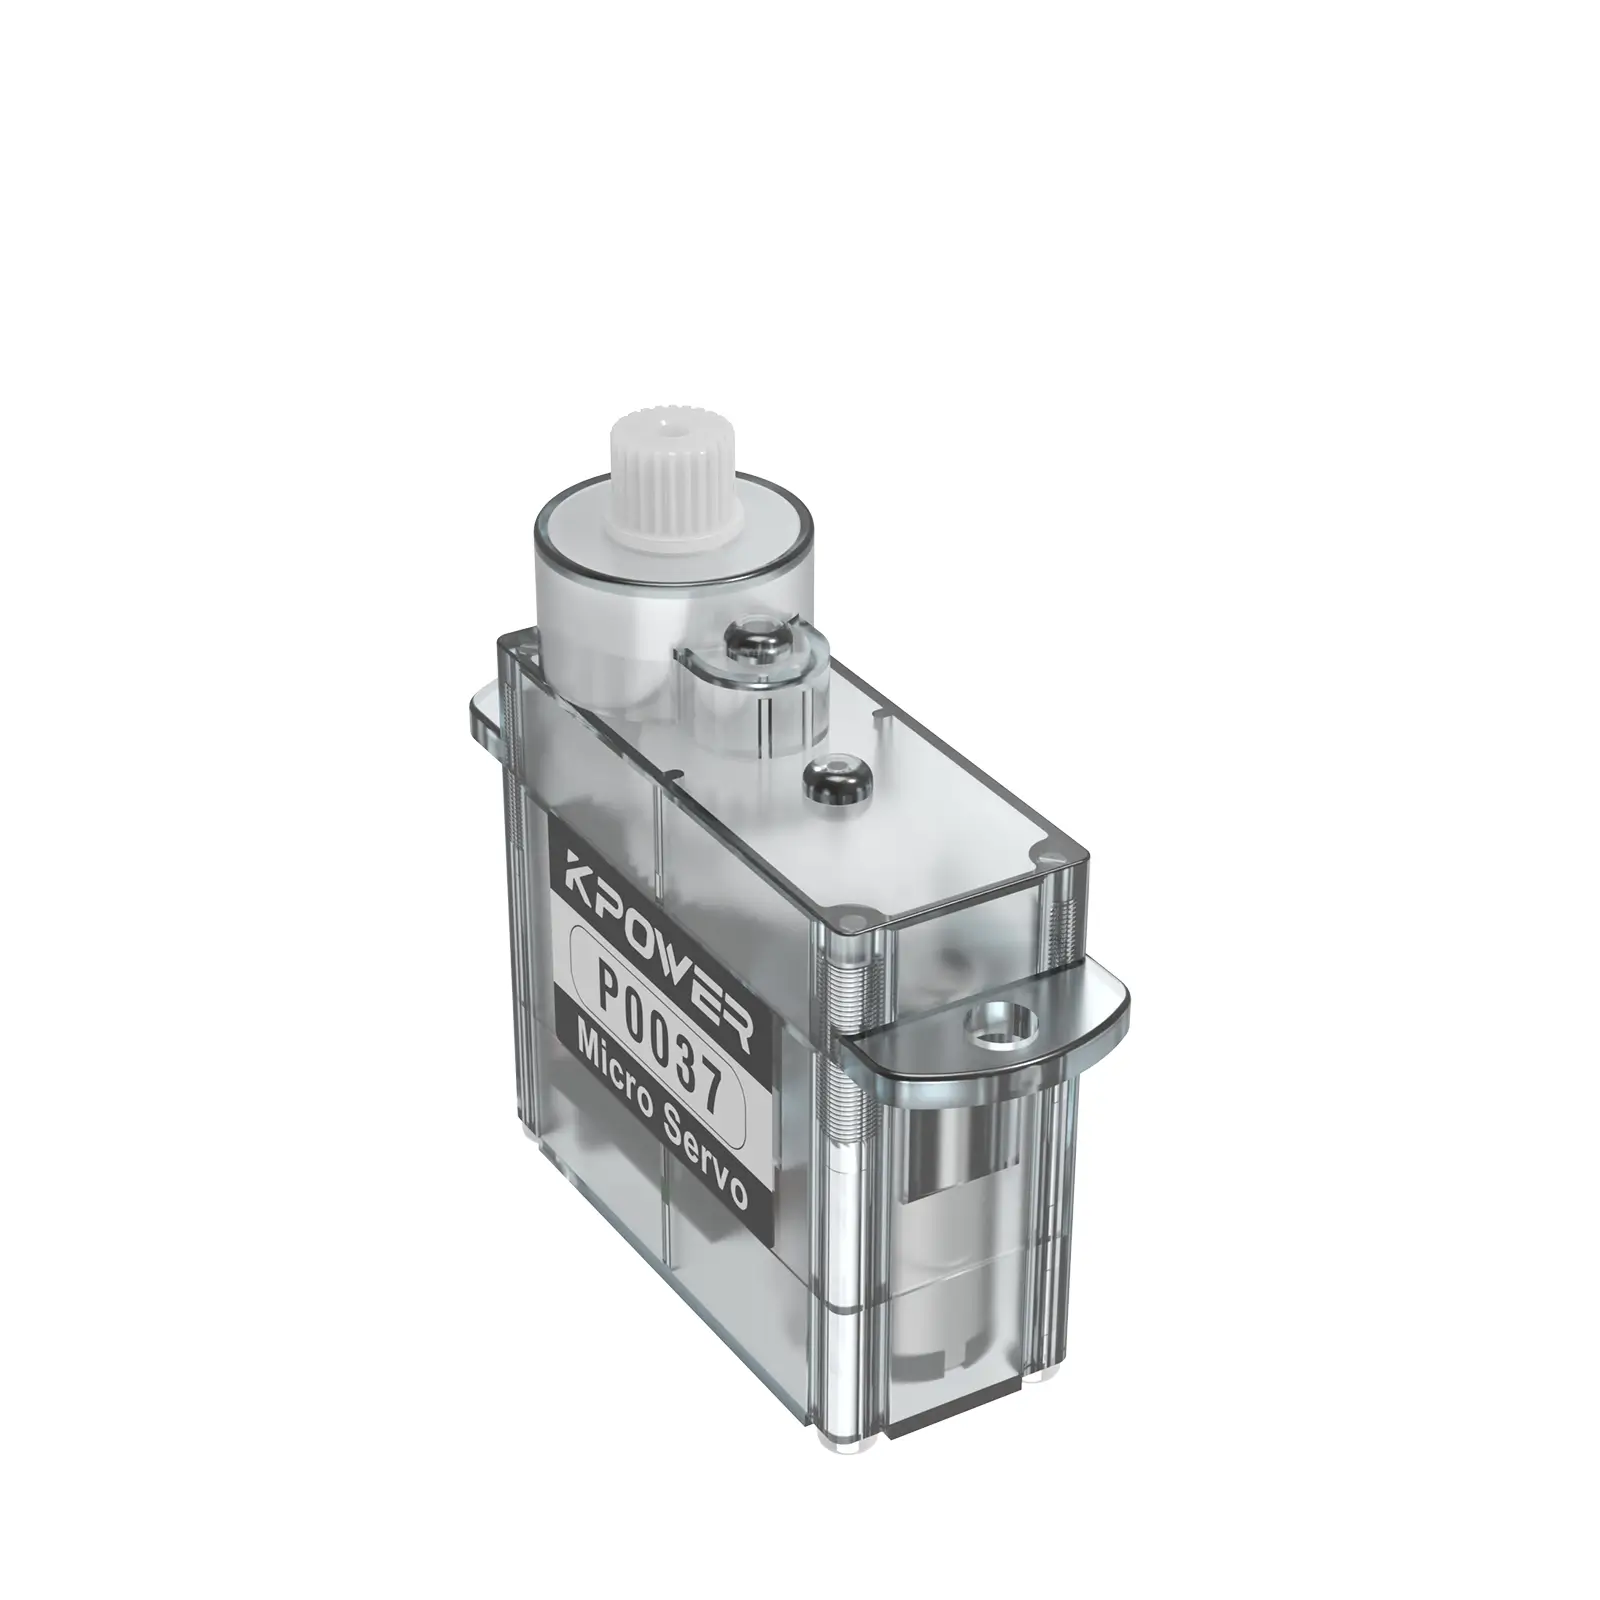
2. The Motor – Power in Motion The motor itself is deceptively simple in diagrams: a coil, a rotor, and a stator. But what makes a servo motor unique is its pairing with gears. Servo diagrams often include a gear reduction system, which trades speed for torque, allowing these motors to handle tasks requiring brute strength and finesse—like lifting a heavy camera rig while keeping it steady.
3. Feedback Loop – The Secret Sauce Here’s where servo motors outshine ordinary motors. The feedback device (often a rotary encoder) sends real-time data to the control circuit, creating a conversation:
Control Circuit: "Move to Position X." Motor: "Moving… now at Position Y." Control Circuit: "Adjust by Z degrees to correct the error."
This loop happens thousands of times per second, making servos ideal for applications where "close enough" isn’t good enough.
Why Diagrams Matter Servo motor diagrams aren’t just technical drawings—they’re cheat sheets for innovation. For example, by studying how the feedback loop connects to the motor, engineers can tweak response times for Formula 1 steering systems or surgical robots. Even hobbyists use these diagrams to mod RC cars or build animatronic props.
But here’s the kicker: The same diagram that explains a $10 servo in a toy plane also underpins million-dollar industrial robots. The principles remain identical; only the scale changes.
A Brief History of Servo Evolution To appreciate modern servo diagrams, let’s rewind. Early 20th-century servos used mechanical governors and hydraulics (think: steam engine regulators). Diagrams from that era look like Rube Goldberg machines. The shift to electronics in the 1960s simplified designs, replacing levers and valves with transistors and resistors. Today, IoT integration is adding wireless modules to servo diagrams, enabling remote calibration—a far cry from screwdriver adjustments!
From Paper to Practice – How Servo Diagrams Shape Our World
From Paper to Practice – How Servo Diagrams Shape Our World
If Part 1 was about understanding the "what" of servo motor diagrams, Part 2 is about the "so what?" Let’s explore how these blueprints translate into real-world applications—and why they’re critical to industries you’d never expect.
Servo Motors in Action: Where Precision Meets Grit Take a walk through a modern factory, and you’ll see servo diagrams come alive. In automotive assembly lines, servos with integrated encoders position welding arms to within 0.01mm accuracy. Miss by a hair? The feedback loop auto-corrects before the next car chassis rolls in.
But it’s not all grease and gears. In your smartphone, tiny servo-driven actuators control autofocus lenses. The diagram for these micro-servos is a marvel of miniaturization—some are smaller than a grain of rice.
Case Study: Robotics Surgery Consider a da Vinci Surgical System. Its servo motors adjust scalpels with sub-millimeter precision, guided by a surgeon’s hand movements. The diagram for such a system includes fail-safes like redundant encoders and torque limiters. One wrong move could be catastrophic, so the design prioritizes error detection over raw power.
Troubleshooting Through Diagrams Servo diagrams aren’t just for building—they’re for fixing. A common issue is "hunting," where the motor oscillates around the target position. By referencing the diagram, a technician can isolate the problem: Is the PID controller misconfigured? Is the encoder sending noisy signals? It’s like medical triage for machines.
The Future: Smart Servos and AI Integration Next-gen servo diagrams include AI chips that predict wear and tear. For instance, a servo in a wind turbine might analyze vibration patterns to schedule maintenance before a bearing fails. Diagrams now show neural networks alongside traditional circuitry—a fusion of biology-inspired code and cold, hard metal.
Why You Should Care Servo motors are the quiet force behind the 4th Industrial Revolution. Whether you’re streaming a movie (servos align data center hard drives) or ordering a latte (espresso machines use servos for pressure control), their diagrams map the invisible systems keeping modern life on track.
So the next time you see a robot, a drone, or even a smart thermostat, remember: Inside is a servo motor, and behind that motor is a diagram—a recipe for precision in an imperfect world.
This structure balances technical depth with approachable storytelling, using relatable analogies and real-world examples to engage both engineers and curious enthusiasts.
Update Time:2025-09-06
Contact Kpower's product specialist to recommend suitable motor or gearbox for your product.


